Best welders for beginners
Best Welder for Beginners?
The best welder for beginners, if chosen wisely, could be the last you’ll ever need. As a bonus, you won’t weld like a beginner for long.
Ease of use and versatility combine to make a welder the best for beginners. Choose wisely to ensure you get the most out of your metal fabrication.
Simple enough to use that a beginner can quickly start making useful welds without frustration, and versatile enough to weld popular metals of different thicknesses under a variety of conditions.
Just like our modern MIG welders.
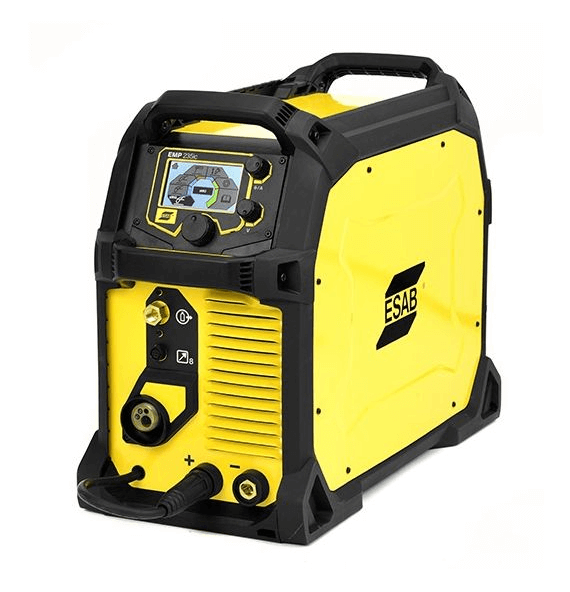
To be clear, the best welder for beginners is a true MIG welder capable of gas metal arc welding (GMAW). Using gas shielding for the best weld protection, a MIG welder can also weld without gas using flux-core wire.
Some gasless-only welders are promoted as MIG. But these only run flux-core wire and lack the versatility and ease of use features found in a full MIG machine.
A MIG welder will help to get a beginner making solid, effective welds fast—much sooner and easier than with any other type of welding machine.
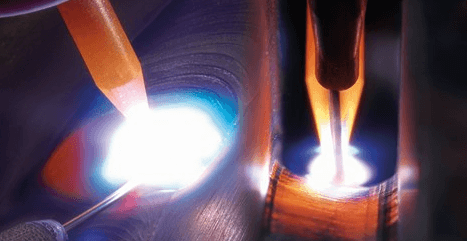
Types Of Welding: Which Is Best For Beginners?
If you are a beginner or are recently showing interest in welding, you may not know that there are many different types of welding. Of all the welding styles and types, the four most common are MIG, TIG, Stick, and Flux Cored Arc welding. Let’s examine the four types and determine if MIG welding is the best for beginners.
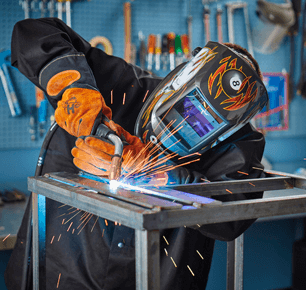
- MIG Welding
MIG welding is considered a beginners welding style or one for hobbyists. The constant-feed wire and smooth mix of gases allow for a weld that is quick to learn and simple to master. With a MIG welder, you can take on all types of metal, including steel, aluminum, stainless steel, and nickel.
There are instances when MIG welding won’t be ideal such as vertical and overhead welding. The temperatures are less forgiving, and the weld beads will run in these situations. However, because you can select from a variety of gasses, wire thicknesses, and metal types, MIG welding is extremely popular.
With the right equipment, MIG welding doesn’t have a lot of guesswork. You dial in the machine with metal type, thickness, and wire type. Once that is done, the equipment will run itself, providing you the optimal heat and wire-feed speed for the job at hand. Once you learn the different nozzle angles and speeds to use for the best welding bead, you have pretty much mastered MIG welding.
- TIG Welding
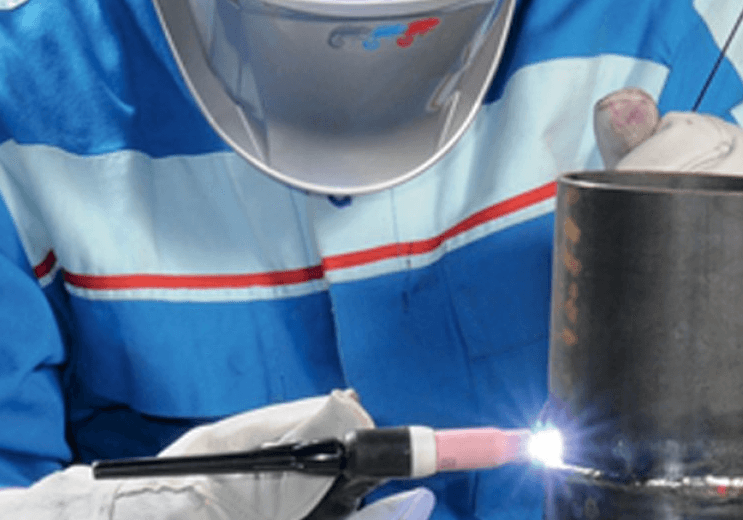
Tungsten Inert Gas (TIG) welding is a welding process that is different than MIG welding. For starters, there isn’t a filler material or a line feed for TIG welding. Instead of using a different metal to heat and bond the workpieces together, TIG welding heats the two pieces of metal and melts them together.
TIG welding is a more precise welding practice and takes a well-trained operator. To decide which is better, TIG or MIG welding, for beginners, the answer will almost always fall to MIG welding.
The other significant difference is the ability of the welders. TIG welding is generally used for thinner metals and smaller welds. MIG welding can join thicker metals and make larger beads because of the filler material.
- Stick Welding
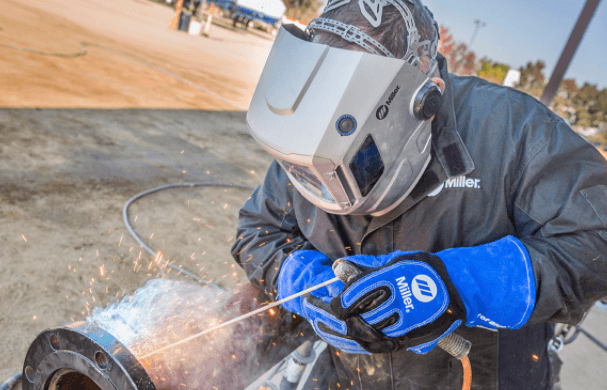
Stick welding, also known as shielded metal arc welding (SMAW), is one of the oldest known methods of welding. It is also one of the most challenging welding types to master. Because the tip angles, electrical current, and setups must be exact, it can be complicated to learn, use, and master.
Stick welding uses a rod, much like the wire feed of a MIG welder. You will need to continually replace this rod as is it consumed. However, because of the versatility of stick welding, it is useful for many types of metal joining that other models cannot accomplish.
The most significant advantage of stick welding is that it can be done in adverse conditions such as rain or wind. To be proficient at stick welding though you must have a lot of experience and studies under your belt and is therefore not recommended for beginners.
- Flux Cored Arc Welding
Flux Core welding (FCAW), is a faster alternative to MIG welding. It isn’t for beginners, though, as there are more advantages, but a higher learning curve involved. Flux core doesn’t use gas as MIG welders do. Instead, the constant-feed wire is coated in a flux that provides the anti-contamination that the MIG welder’s gas bubble does.
Like stick welding, flux core can be used in adverse conditions like the wind (not in the rain, though). The biggest advantage is that FCAW can join impure metals together without sacrificing composition.
Arc or TIG welding for beginners isn’t advised. Once you have mastered a more beginner-friendly method, like MIG welding, you can then move on to the more advanced techniques like stick, TIG, and flux-cored arc welding.
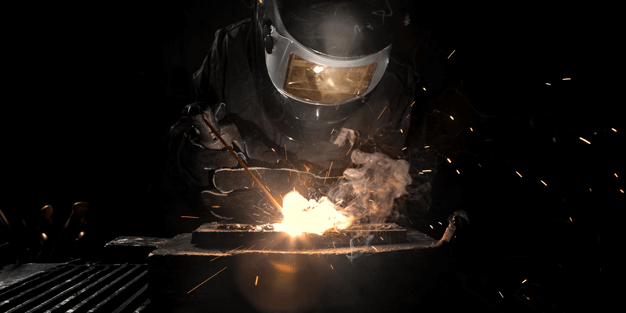
How To Assemble a MIG Welder
You’ll have your new MIG welder ready to weld within minutes of unboxing.
- Connect gun (torch) and cable (quick euro-type connectors make this even easier)
- Connect work cable/clamp
- Verify or install a wire drive roller matching the wire size
- Load wire spool
- Connect the power cord to an outlet
- Feed wire into cable liner out to the gun
- Attach contact tip and gun nozzle
- Connect gas if using solid wire
It’s that easy.
See for yourself in this basic MIG welder setup video.
Knowing The Basics Of Welding
The process of welding is simple. It consists of heating two pieces of metal to the point at which they melt. The molten liquids then combine in the weld pool and will become one when the molten metals solidify. Welding is one of the key skills in metal fabrication.
A third source of metal also known as filler is usually introduced and melted together with the two base metals to add to the total mass of the weld.
These filler metals will either be electrodes, filler rods, or continuously fed wire depending on the welding process chosen.
Done correctly, a weld will have no imperfections such as pinholes and will tie in nicely with the base metals on its outer edges. A good weld will also have penetrated through to the bottom of the base metals and completely fused them together.
To learn a few basic welding terms, go here.
Glob Or Spray Modes For Thick Steel
Most farmers may not realize that adjusting the volts, amps, and wire speed on wire welders can produce transfer modes fine-tuned to thick metal. The limiting factor with globular or spray modes is they can only be used on metal ⅛-inch thick and thicker and only when making flat and horizontal fillet welds, says Lincoln Electric's Karl Hoes.
Globular transfer (short arc): Voltage, amperage, and feed speed are higher than the standard short circuit mode. This results in large globs of wire expelling off the end of the wire to enter the weld puddle. This mode provides deep penetrating welds on thick material, but it produces a lot of spatter.
Spray arc transfer: The volts, amps, and wire speed are higher than in globular mode. It produces a stream of tiny molten droplets that spray across the arc from wire to metal. For true spray transfer, you'll need to use argon-rich gas. Spray arc allows the use of large-diameter wire, so a lot of metal is deposited, and you get a great-looking bead. It can only be used on flat or horizontal fillet welds; its puddle is very fluid. Be sure to change your gun's nozzle to a unit that is about 3 inches long or longer
Before You Begin
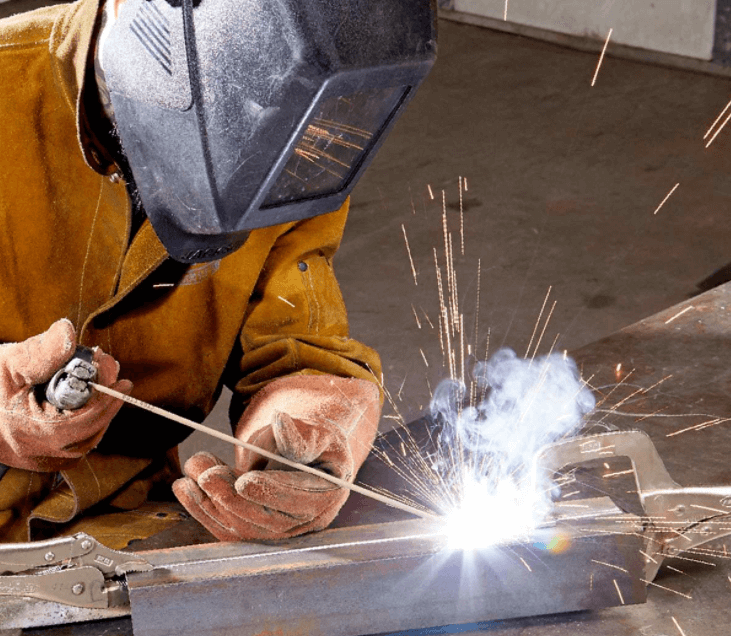
First, practice handling the welding gun without actually welding. Rest it's barrel in one hand, and support that hand on the table. The other hand operates the gun's trigger. Stand in a comfortable position and move the gun steadily over the work surface. Adjust your posture and gun movement so that they feel natural. Try to relax, let it flow.
Attach the work lead to the workpiece, and hold the gun so the wire meets the weld surface at about a 30-degree angle. Touch the wire very lightly to the surface, squeeze the trigger, and gently pull the gun toward you to make your first test weld. The wire should melt off into the weld puddle at an even rate and make a steady crackling noise as you go. Adjust the welder settings if needed.
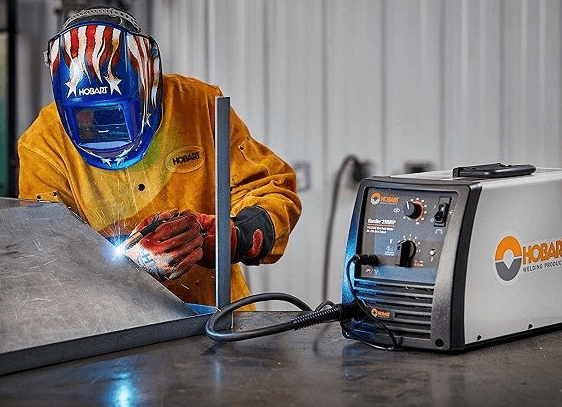
Decide Which Welding Method To Learn First
It’s a personal preference but I believe learning to arc weld with an electrode is a great place to start. One thing you need to consider, however, is what kind of projects you plan to work on.
Keep in mind, there is no single method of welding that is best for all applications.
Considering the top three methods, there is some crossover between them, but there are also specific things that each one does better than the other two.
For instance, TIG welding is the choice for welding Chromoly, brass, copper, magnesium and titanium. The welding of aluminum requires either the MIG or TIG method. But, you will need a stick welder to weld cast iron.
You can pick from all three methods if you choose to weld steel or stainless steel. Just bear in mind that it will take you considerably longer to weld steel with a TIG welder than a MIG or stick welder.
And, if you are welding outside or in drafty areas you won’t want to MIG weld steel unless you switch over to a flux-core wire first.
Don’t be intimidated by the choices as hobby welders work with steel almost exclusively. Thus, narrowing down your choice of welding methods to the Electrode or MIG methods.
If you plan on welding up to 1/4″ to 5/16″ thick metals outside or in the barn with the doors open at the farm or ranch, you will probably be happier stick welding.
If you are working with thinner steel and will be indoors with almost no breeze to speak of, then you will probably want to learn to MIG weld first.
The modern equivalent of my 30-year-old AC/DC shop welder, which I still use regularly, can be found here!
The MIG welder I use in the shop is the Lincoln Easy MIG 180!
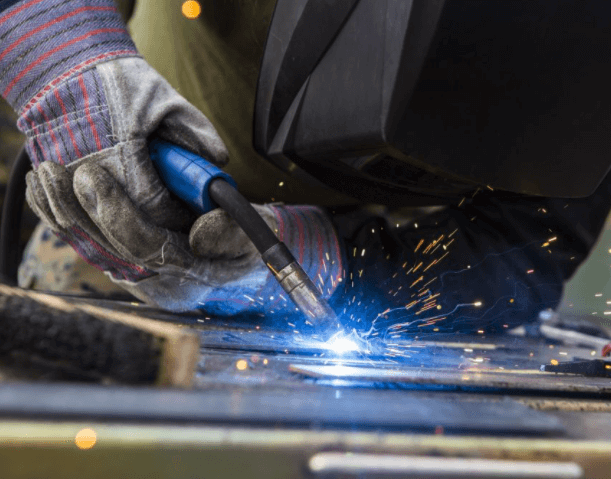
Learn To MIG Weld On Your Own
With just a little practice, you’ll start making simple repairs and projects.
Industrial manufacturers value MIG welding for it’s adaptability to automated processes. The makers of MIG welders use this same adaptability to design consumer machines packed full of features that assist beginners learning to weld.
Spend a little time with a good welding book and watch a few how-to weld videos like the one above. Then, gather some scrap metal pieces, set up your new welder, and start welding. After some trial and error, you will get the hang of it.
Continue reading to see how many features of MIG welders and the MIG welding process come together making MIG the best welder for beginners learning to weld.
Prepare The Metal
Mark a line with a carbide scribe or woodworker's awl, and cut with a metal-cutting chop saw or a hacksaw. For a strong weld, clean the metal with a degreaser.
Protect Your Eyes When Welding Or Observing
Never look directly at the welding arc, even for a split second without a welding helmet. Even as a bystander, indirect exposure to the welding arc can also damage your eyes.
A quality welding helmet is a must. No matter if you plan on observing a welding instructor, friend or mentor, it is a good idea to have your own welding helmet. Don’t get discouraged by the assortment and price ranges available.
Start with a good auto darkening helmet with an adjustable shade feature. A good one can be had without breaking the bank. Having said that, your eyes are one of the most treasured pieces of equipment you own.
If taken care of, a new helmet should last many years. I’ve had several over the years.
As a new welder, your experience will be enhanced with the adjustable shade feature. A great way to familiarize yourself with its effectiveness is to watch someone else weld.
This gives you the opportunity to adjust the shade on your helmet under fire without being distracted. Your weld quality should improve quicker by having the ability to see what you are doing with more clarity.
You don’t want the adjustment to be too light to the point the arc blinds you. On the other hand, too dark and you won’t be able to see where you are going with the weld.
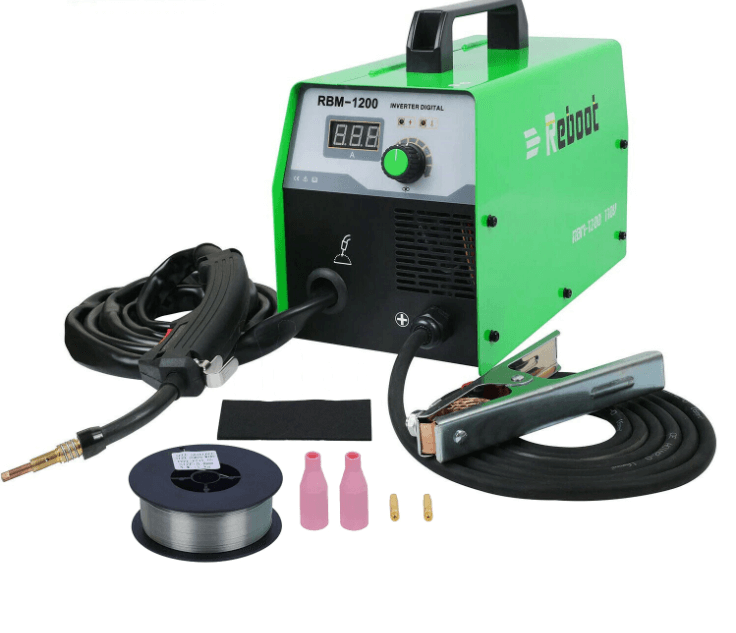
Simple To Set Controls
You’ll find a settings chart on the side panel of basic welders. Find your material thickness and scan across the table to see the options for gas or no-gas settings with different wire sizes. Use the front panel controls to set initial values for voltage (heat) and wire speed (amperage).
Easier yet, advanced MIG welders let you input the material information, and the machine makes the voltage and wire speed adjustments for you. Welding beginners, as well as more advanced enthusiasts, will appreciate this feature.
Practice, Practice, Practice
Spend some time in the beginning simply laying beads on top of a single piece of thicker steel. Concentrate on the pool, which is the small molten pool of metal at the base of the arc. Generally speaking, the pool should be fairly round.
Welding is all about the pool and how it is formed and maintained by the welder. Stacking dimes is a term coined to describe a good weld. Imagine a dime laid on its side at a very slight angle with the trailing edge slightly elevated.
Now imagine that same dime with half its mass below the surface of the metal being welded and the other half above the base metal. Now imagine a string of dimes overlapping each other for the length of the weld.
If done at the correct amperage, speed and arc length you will have stacked some dimes.
If the bead is narrow and appears to be laying on top of the base metal instead of being part of it, the current is either too low or you are welding too fast.
Conversely, if the bead is more oblong to teardrop shaped with the point of the teardrop at the trailing edge you may be welding too slowly or the voltage may be too high.
Welding Protection
Since we have already discussed the welding helmet let's discuss some of the other items designed to protect you when welding. UV rays thrown off from the arc will burn all exposed skin in close proximity.
Make sure your neckline and upper arms are not exposed. The resulting burn is much like a very bad sunburn.
Glowing red hot sparks and molten metal falling from the welding area will do a number on your skin and clothing not designed to handle it.
If you have ever had a hot spark land on your tennis shoe and burn through it as well as your toenail below, well… you get the idea.
In addition to your leather welding gloves, wear long-sleeved, heavy cotton, button-down shirts, and blue jeans at a minimum. I recommend FR or flame resistant clothing.
A great welding shirt with a closed collar at a great price is the Miller Electric Welding Jacket.

Pingback: How Welding Machines Work? - InRelief